 Leather
If you’ve ever looked at your car seat and thought, “It looks lifeless,” know that this almost never happens out of nowhere. In practice, dried-out leather is the result of the wrong routine, the wrong products, and—most importantly—a very common habit: applying anything and assuming that “if it’s good for cleaning, it’s good for preserving.” But it isn’t. What you apply to leather can dry it out completely—and when dryness shows up, it often comes with loss of softness, artificial shine, color changes, and even cracking.
And here’s an important point: automotive leather isn’t a “raw” surface. It usually has a finish (a protective layer) and requires specific care. That means daily stressors like heat, friction, and sweat already cause natural wear. When you add unsuitable products, the process speeds up. So, if your goal is to keep your interior looking premium for much longer, it’s worth learning the basics the right way.
In this article, you’ll understand why some products ruin leather, how to spot early signs of dryness, what to do to prevent it, and a safe, step-by-step cleaning and conditioning routine—without guesswork.
Why does leather dry out?
Dryness happens when leather loses flexibility and becomes “stiff,” with a rough feel and a dull appearance. This can occur for three main reasons:
Heat and sun exposure
The inside of a car can turn into a greenhouse. Over time, high temperatures speed up degradation and shorten the lifespan of the leather’s protective finish.
Built-up dirt and friction
Dust, body oils, and clothing residue form a layer that “sands” the surface. As a result, the finish loses uniformity.
Using unsuitable products
This is the biggest culprit. Because what you apply to leather can dry it out completely when it contains solvents, alcohol, harsh detergents, or aggressive pH. These strip protection, pull moisture from the surface, and leave the material vulnerable.
The products that dry leather out the most (and why)
Many people make mistakes for convenience: they grab whatever is at home and “fix it.” However, with leather, cheap turns expensive.
1) Household dish soap and degreasers
They’re made for heavy grease and dishes—not automotive finishes. Therefore, they can remove the leather’s protective layer and leave the surface dull.
2) Alcohol, glass cleaner, and generic all-purpose cleaners
Alcohol evaporates quickly and gives a “clean” feeling. But it can dehydrate and stain. In addition, all-purpose cleaners tend to be too aggressive for a material that needs balance.
3) Silicone and products that “shine too much”
This is a classic mistake. Some silicones create artificial gloss, make the seat slippery, and attract dirt. Over time, that buildup can make maintenance harder and speed up wear through friction.
4) Scented products and “moisturizers” with no clear specification
Not every “moisturizer” is suitable for automotive leather. Some are too oily, others don’t absorb, and some create a sticky film. As a result, the leather gets dirty faster and you end up cleaning it more often—which, in a chain effect, causes more wear.
In short: what you apply to leather can dry it out completely because leather requires the right formula, the right application, and the right frequency.
Signs you’re already on the wrong path
Catching it early prevents expensive restoration. Watch for these signs:
If you’ve noticed one or more of these signs, there’s no need to panic. But you do need to stop using whatever caused it and correct the routine.
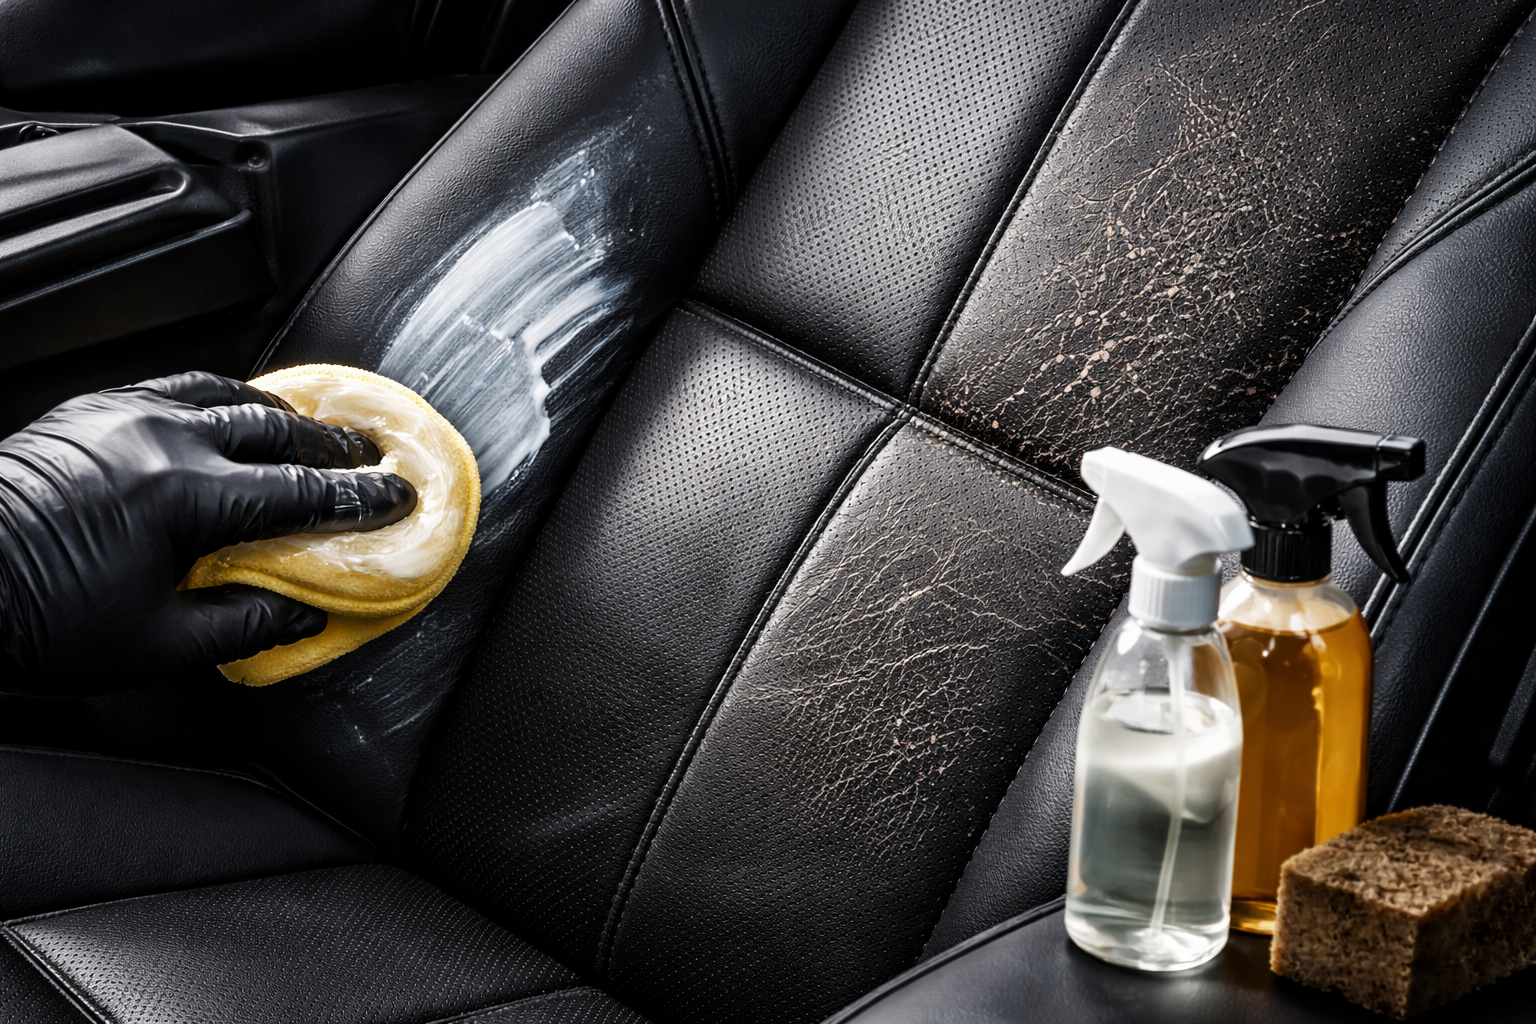
The right routine: clean without damaging and condition safely
Before talking about “hydrating,” it’s essential to understand a golden rule: conditioning doesn’t fix dirt. If you condition over body oils and dust, you “seal in” grime and make the appearance worse.
The ideal sequence is:
Remove dust and loose debris
Use a dry microfiber towel or a vacuum with a soft nozzle. This helps prevent scratching during cleaning.
Clean with a leather-specific product
A dedicated cleaner like Higicouro Vonixx removes dirt without attacking the finish. It also helps control oiliness without drying the leather out.
Dry and even out the surface
Finish with a clean, dry microfiber towel. This step seems simple, but it prevents streaks and residue.
Condition/hydrate with the right product
The right conditioner like Hidracouro Vonixx restores softness, improves feel, and supports protection. However, it must be applied in a thin, even layer and given time to set.
A practical step-by-step so you don’t dry it out
You can follow this routine at home safely:
Step 1 — Preparation
Work in the shade and with a cool interior. If the seat is hot, evaporation will be faster and may cause staining.
Step 2 — Dust removal
Vacuum and wipe dry microfiber into seams and creases. Then do a quick inspection: where is it dirtiest? Usually the bolsters and the driver’s backrest.
Step 3 — Proper cleaning
Apply the leather cleaner to an applicator or a soft brush (never soak the surface). Scrub with light, consistent movements. Then remove the excess with a damp microfiber towel and finish with a dry microfiber towel.
Step 4 — Conditioning
With the leather clean and dry, apply a leather-specific conditioner in a thin layer. Spread evenly to avoid artificial shine. Let it absorb, then finish with a dry towel to even out the touch.
Step 5 — Maintenance
Repeat light cleaning with Sintra Vonixx diluted 1:50. And condition at the proper frequency (I’ll guide you right below).
Ideal frequency: not too much, not too little
One of the biggest mistakes is overdoing weekly “hydration” when it isn’t needed. Leather needs balance. Practical recommendations:
In addition, if you live in a hot region or often leave the car in the sun, you may need slightly more frequent care. But always with the right product and a light application.
How to prevent dryness day to day
Small habits make a big difference:
And it’s worth reinforcing: what you apply to leather can dry it out completely not only because of the product itself, but also because of how you use it. Excess product, aggressive friction, and heat during application all matter.
What if the leather is already very dry?
If there are already micro-cracks or stiff areas, the goal becomes reducing progression and improving feel—because “going back to zero” depends on the level of damage. The safe path is:
In many cases, simply correcting the routine already improves appearance and softness significantly.
Conclusion: beautiful leather is the result of the right chemistry and consistency
Well-cared-for automotive leather isn’t luck or a “detailer secret.” It’s a process. And the first step is to stop improvising. Because what you apply to leather can dry it out completely—and once it dries out, the damage becomes aesthetic, functional, and financial.
By cleaning with the right product, drying correctly, and conditioning at the right frequency, you preserve softness, color, and finish much longer. Plus, the interior looks like new—without excessive shine and without a sticky feel.
If you want a truly premium interior, start with the basics done well: technique, consistency, and the right products.
Sign up to receive useful tips and content.